Preparing for Passover can feel like an uphill climb, but it doesn’t have to! By taking a slow and steady approach, you can spread out the work and enter the holiday feeling calm and ready. With so many meals to prepare, it’s easy to feel overwhelmed, but spacing out tasks over four weeks makes the process more manageable. You can start even earlier if you prefer, but I like to have most of my cooking finished before flipping my kitchen the week before Passover. This method keeps stress levels down and allows me to balance daily life while still making everything from scratch. For tips on getting started, check out Setting Up Your Passover Prep Space.
Enlist Help
Passover prep is a family affair! Enlisting the help of my family not only lightens the load but makes it more enjoyable. My hired household help also generously puts in extra time peeling and chopping, which speeds up my process immensely. Whether it’s juicing citrus, labeling containers, or cleaning up, there’s a job for everyone.
Start with the Essentials
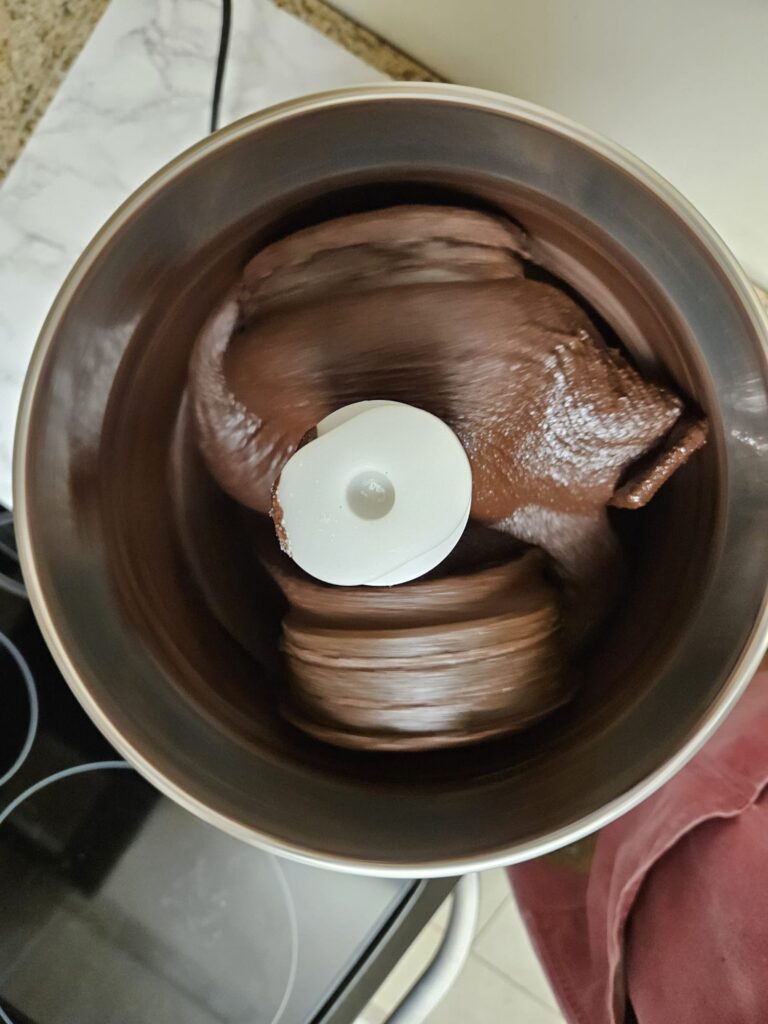
Before jumping into full meal prep, I focus on creating the foundational ingredients that will make assembling flavorful dishes easier later on. Fresh citrus juices, tomato sauce, homemade spice blends, and nut flours are all essential building blocks in my kitchen. By tackling these first, I set myself up for success when I begin assembling full recipes.
Parve First, Then Meat, and Dairy optional
I always start with parve dishes to keep them truly neutral. Juices, spice blends, broths, and soups are easy first steps before moving on to meat and, if applicable, dairy.
Cook Now or Assemble for Later
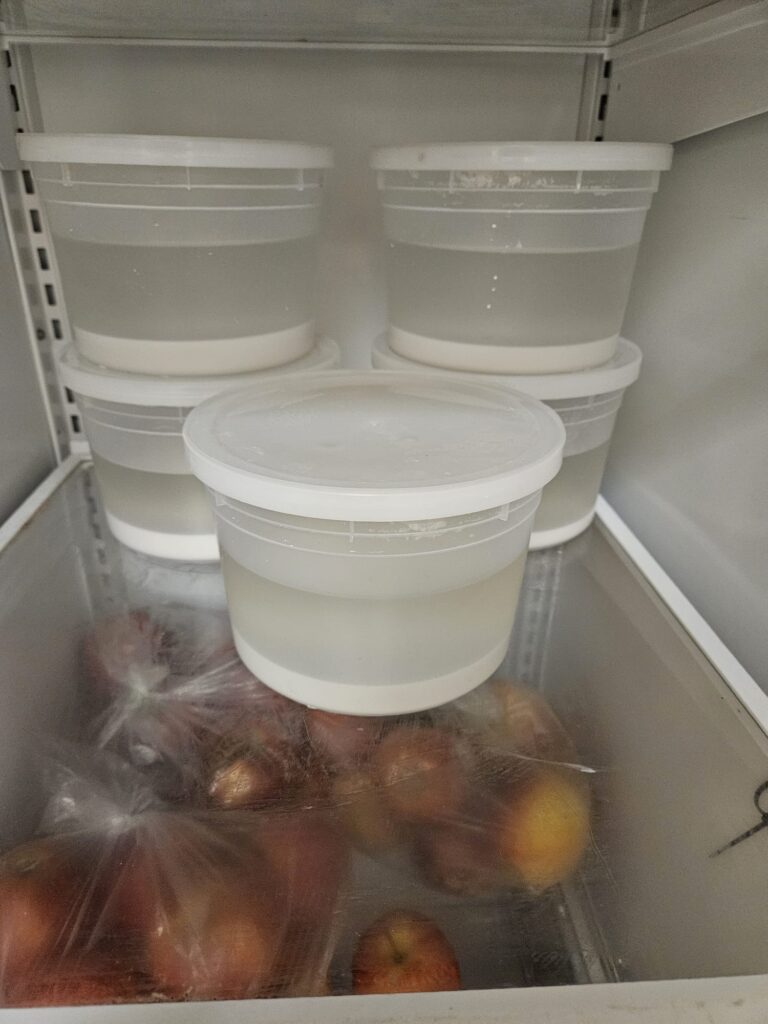
One of the best parts of this four-week plan is its flexibility. While all of my recipes freeze beautifully once cooked, many can also be compiled and frozen in their raw form, ready to bake fresh on the day you serve them. If you prefer the taste and texture of freshly cooked food, this approach is a great way to balance advance prep with same-day cooking.
How Much You Make From Scratch is Up to You
Everyone’s level of Passover prep is different, and that’s okay! Whether you go fully homemade or mix in some store-bought ingredients, this plan is flexible enough to fit your customs and schedule.
Use Countertop Appliances to Your Advantage
Most items can be prepared using slow cookers, electric pressure cookers, and other countertop appliances. This minimizes the need to turn over your main kitchen right away. However, once your kitchen is fully flipped for Passover, you can start baking items that require an oven.
Label Everything
Once meals are prepped and ready for the freezer, labeling is key! I make sure to include the number of servings, as well as any ingredient notes like “no sugar” or “contains nuts.” This small step makes a huge difference when it’s time to plan meals during the holiday. Check out my favorite label maker.
By following this slow and steady approach, I can enter Passover feeling prepared and relaxed rather than frazzled and exhausted. Whether you follow the plan to the letter or customize it to fit your needs, I hope this method helps make your Passover prep smoother and more enjoyable.
Let’s make this Passover together, one step at a time!