pure passover – passover made from scratch
Cacao to chocolate
active Time
2 hours
total Time
24-26 hours
Serves
12
This is the moment where Passover prep takes a delicious turn. Making chocolate from the bean does take some equipment — in my kitchen, that means a Champion juicer for cracking and a wet grinder humming away for hours — so it isn’t something you decide to do on a whim. What started as a Passover experiment, however, quickly revealed itself as something much better: a way to make joy.
Just cacao beans and sugar — transformed, patiently, into dark chocolate that snaps, shines, and tastes deeply alive.
And yes, it’s absolutely Passover-friendly.
The Ingredients (That’s it!)
- 5 pounds cacao beans
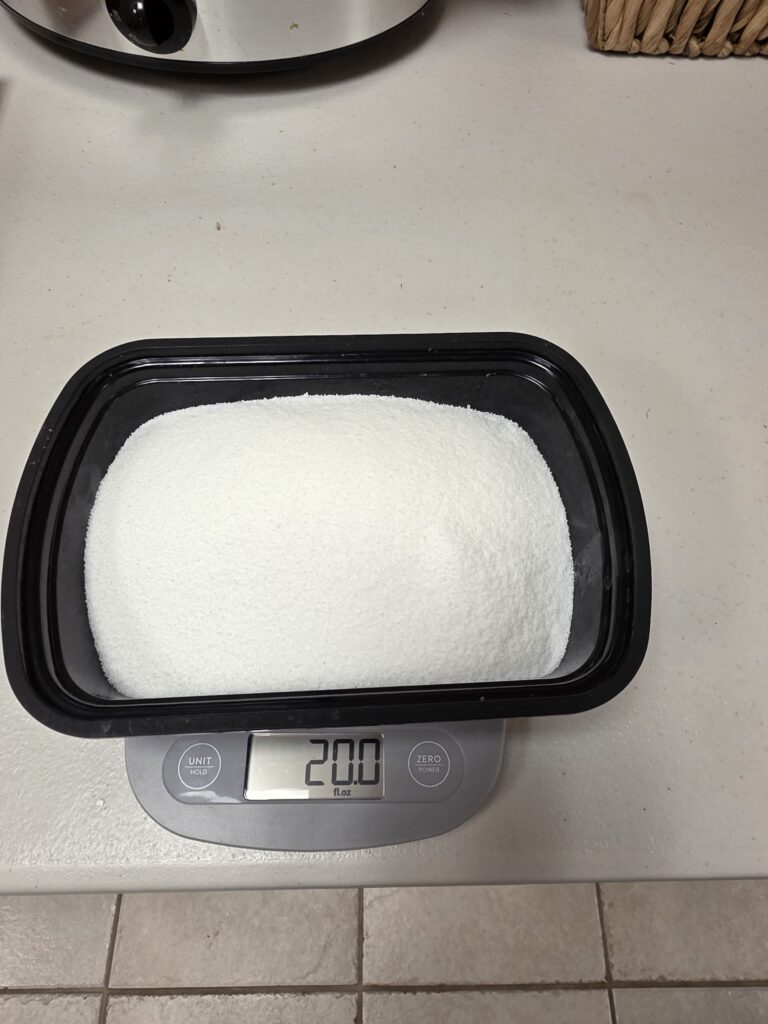
→ yielded 4 pounds nibs after roasting and winnowing - 20 oz sugar
That’s the entire list.
If you’ve ever wondered whether something this simple can really become chocolate — it can. And it’s magic every time.
Why This Works
No additives.
No mystery ingredients.
Just time, temperature, and intention.
From Bean to Chocolate
Starting with whole cacao beans means taking responsibility for every step — and allowing time for each transformation.
Time Overview
30 minutes to roast cacao beans (or nibs at a slightly lower temperature)
1 hour to crack and winnow beans (skip if starting with nibs)
1 hour to grind nibs in a Champion juicer into chocolate liquor
20–24 hours in the wet grinder (mostly hands-off)
1 hour for tempering — the critical final step
It sounds long, but much of it is beautifully passive. The machines hum. The house smells like a chocolate factory. You move through your day.
Step-by-Step Process
Roast
Roast whole cacao beans to develop flavor. If starting with nibs, roast at a slightly lower temperature.
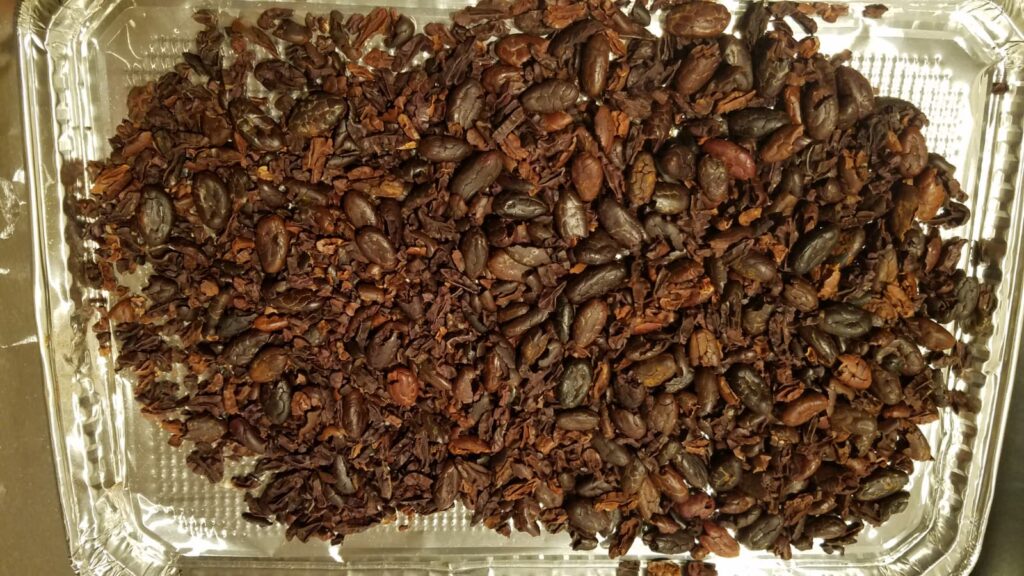
Crack & Winnow (Whole Beans Only)
After roasting, crack the beans using a Champion juicer and winnow to remove husks. This takes about an hour. If beginning with nibs, skip this step entirely.
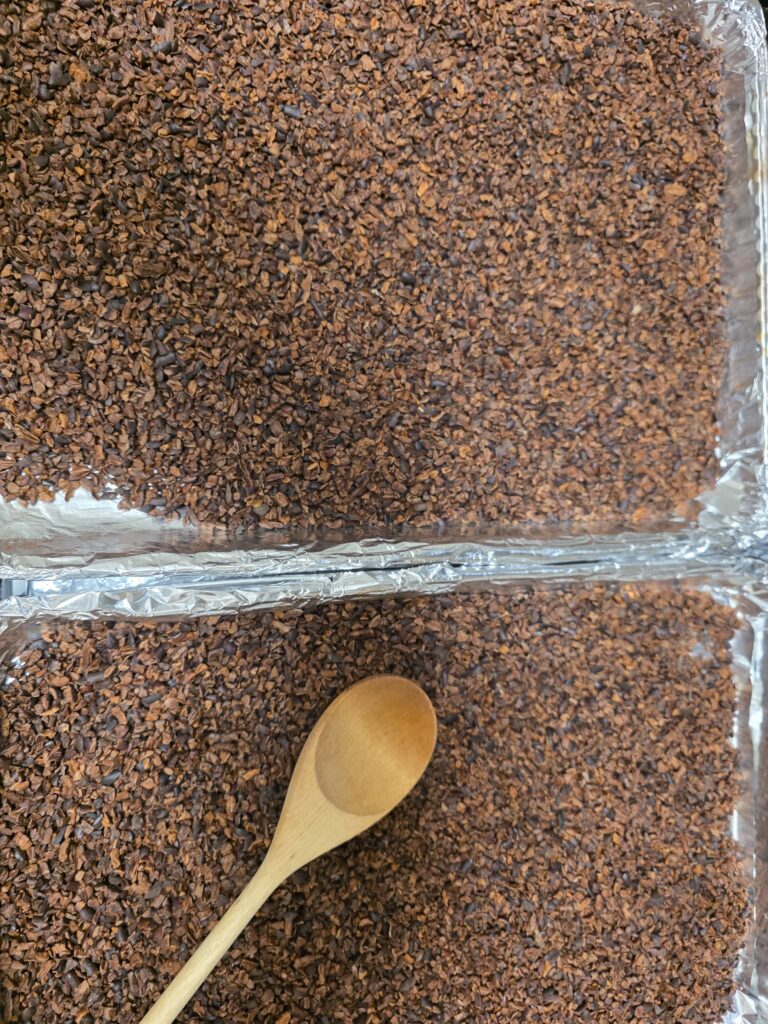
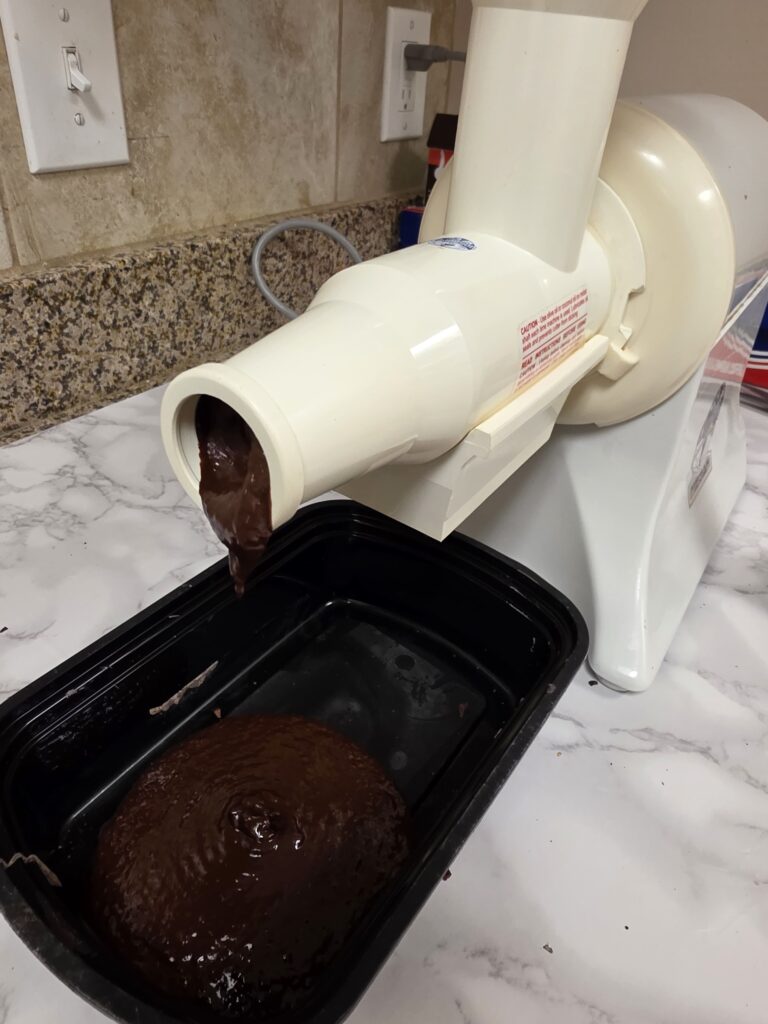
Grind to Chocolate Liquor
Run the nibs through the Champion juicer to create chocolate liquor (about one hour).
Transfer the liquor directly into a running wet grinder.
Add Sugar Slowly
For 4 pounds nibs, add 20–24 ounces sugar, depending on how dark you prefer your chocolate.
Let the grinder run 20–24 hours — overnight or until you’re ready to return to it. This is where grit becomes silk.
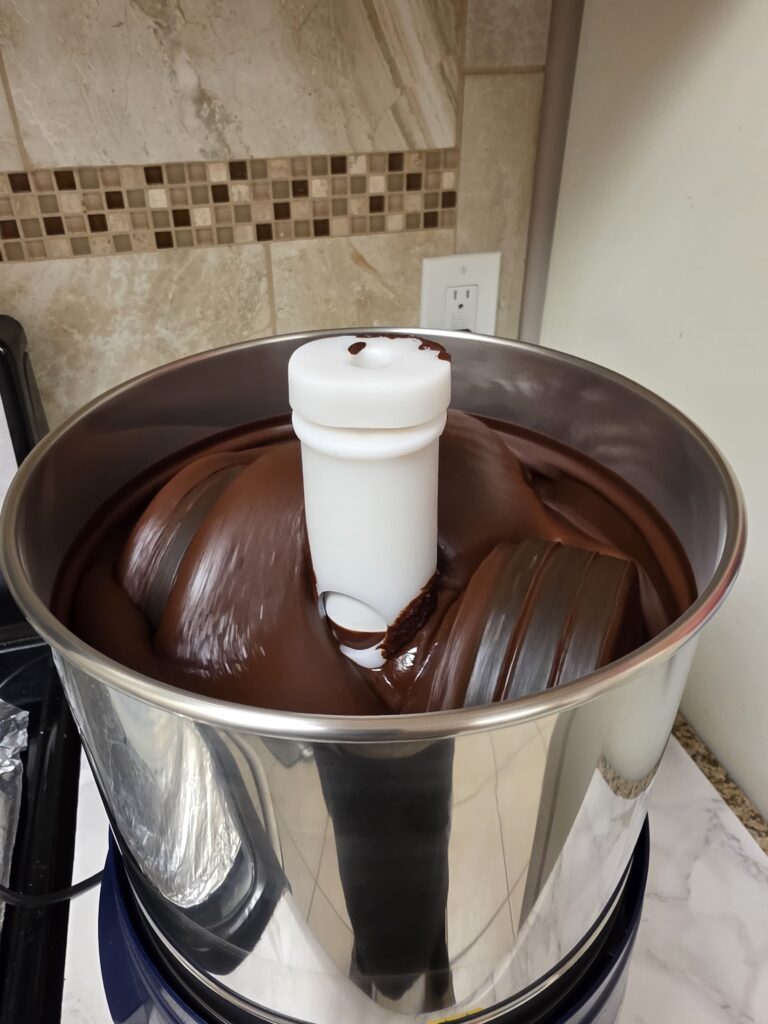
Tempering — The Step That Creates Snap & Shine
This final hour determines whether your chocolate blooms or gleams.
- Transfer hot chocolate into a large bowl (I use my crock pot insert).
- Stir every five minutes, checking temperature with a laser thermometer.
- Cool from 113°F down to 82–84°F.
- Gently warm back to 86–87°F using a hair dryer.
If the temperature rises above 88°F, you’ll need to cool and begin again. Precision matters here.
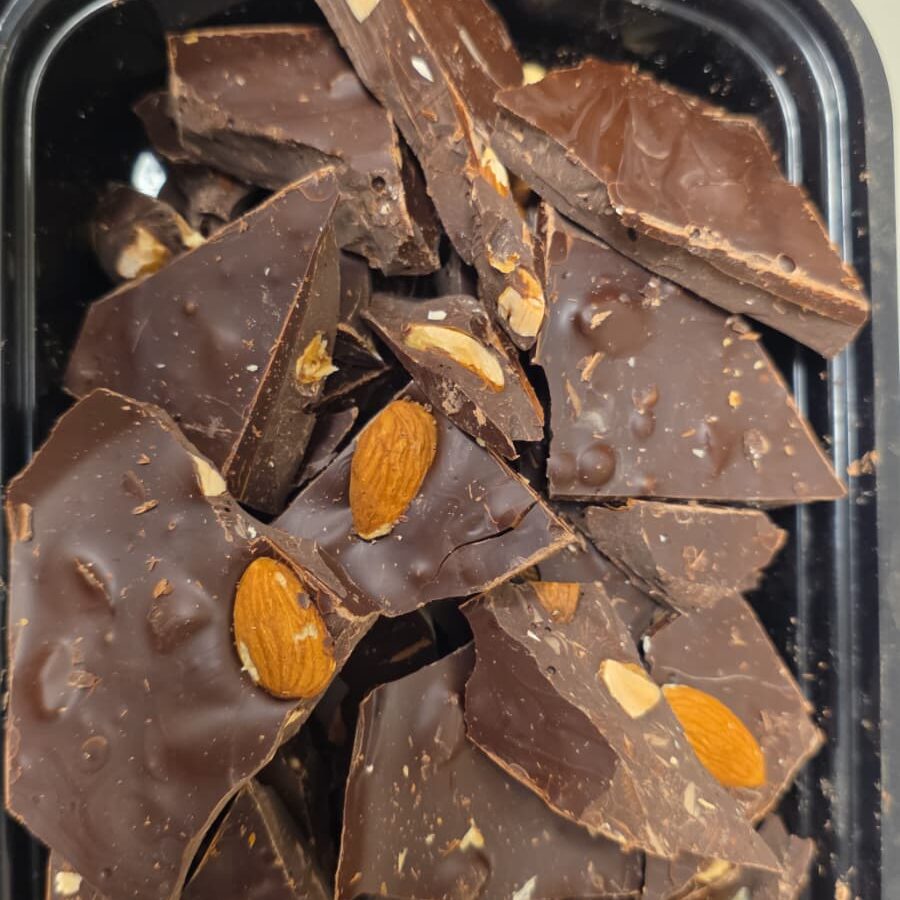
Making Almond Bark
At 86–87°F (molding temperature):
- Stir in coarsely chopped roasted almonds.
- Pour onto parchment-lined cookie sheets.
- Do not smooth with a spatula — that disrupts crystal structure and causes bloom (white streaks).
- Instead, tap the sheet firmly on the counter so vibration spreads the chocolate naturally.
- Press whole roasted almonds into the surface.
If the chocolate thickens after adding cool almonds, gently warm with a hair dryer while stirring to return it to 86–87°F.
Let set in a cool room for 24 hours.
Break into rustic bark. Enjoy the snap.
Equipment
Making chocolate from the bean does require some equipment — it isn’t a spur-of-the-moment project.
In my kitchen, that means a Champion juicer for cracking and a wet grinder running for many hours. What began as a Passover experiment has become a year-round practice, one that now feels less like production and more like returning to a familiar rhythm. By the time Passover arrives, chocolate-making is simply part of the flow.
If this is something you want to explore deeply, it’s worth it. I learned from John Nanci’s excellent free instruction at ChocolateAlchemy.com, which demystifies the process and builds confidence step by step.
A practical note: if starting with whole cacao beans feels like too much, cacao nibs are a perfectly acceptable shortcut. They can be roasted directly and skip the cracking and winnowing altogether. There’s no single “right” way to make chocolate — follow your family custom, comfort level, and curiosity.
Links to my equipment:
I bought the Champion juicer base motor unit inexpensively on Ebay. Then, bought new parts that come in contact with food from the Champion Juicer website.
Why This Matters for Passover
So much of Passover preparation is about returning to essentials.
This chocolate fits that philosophy perfectly:
- no processed additives
- no mystery ingredients
- complete control over what goes in
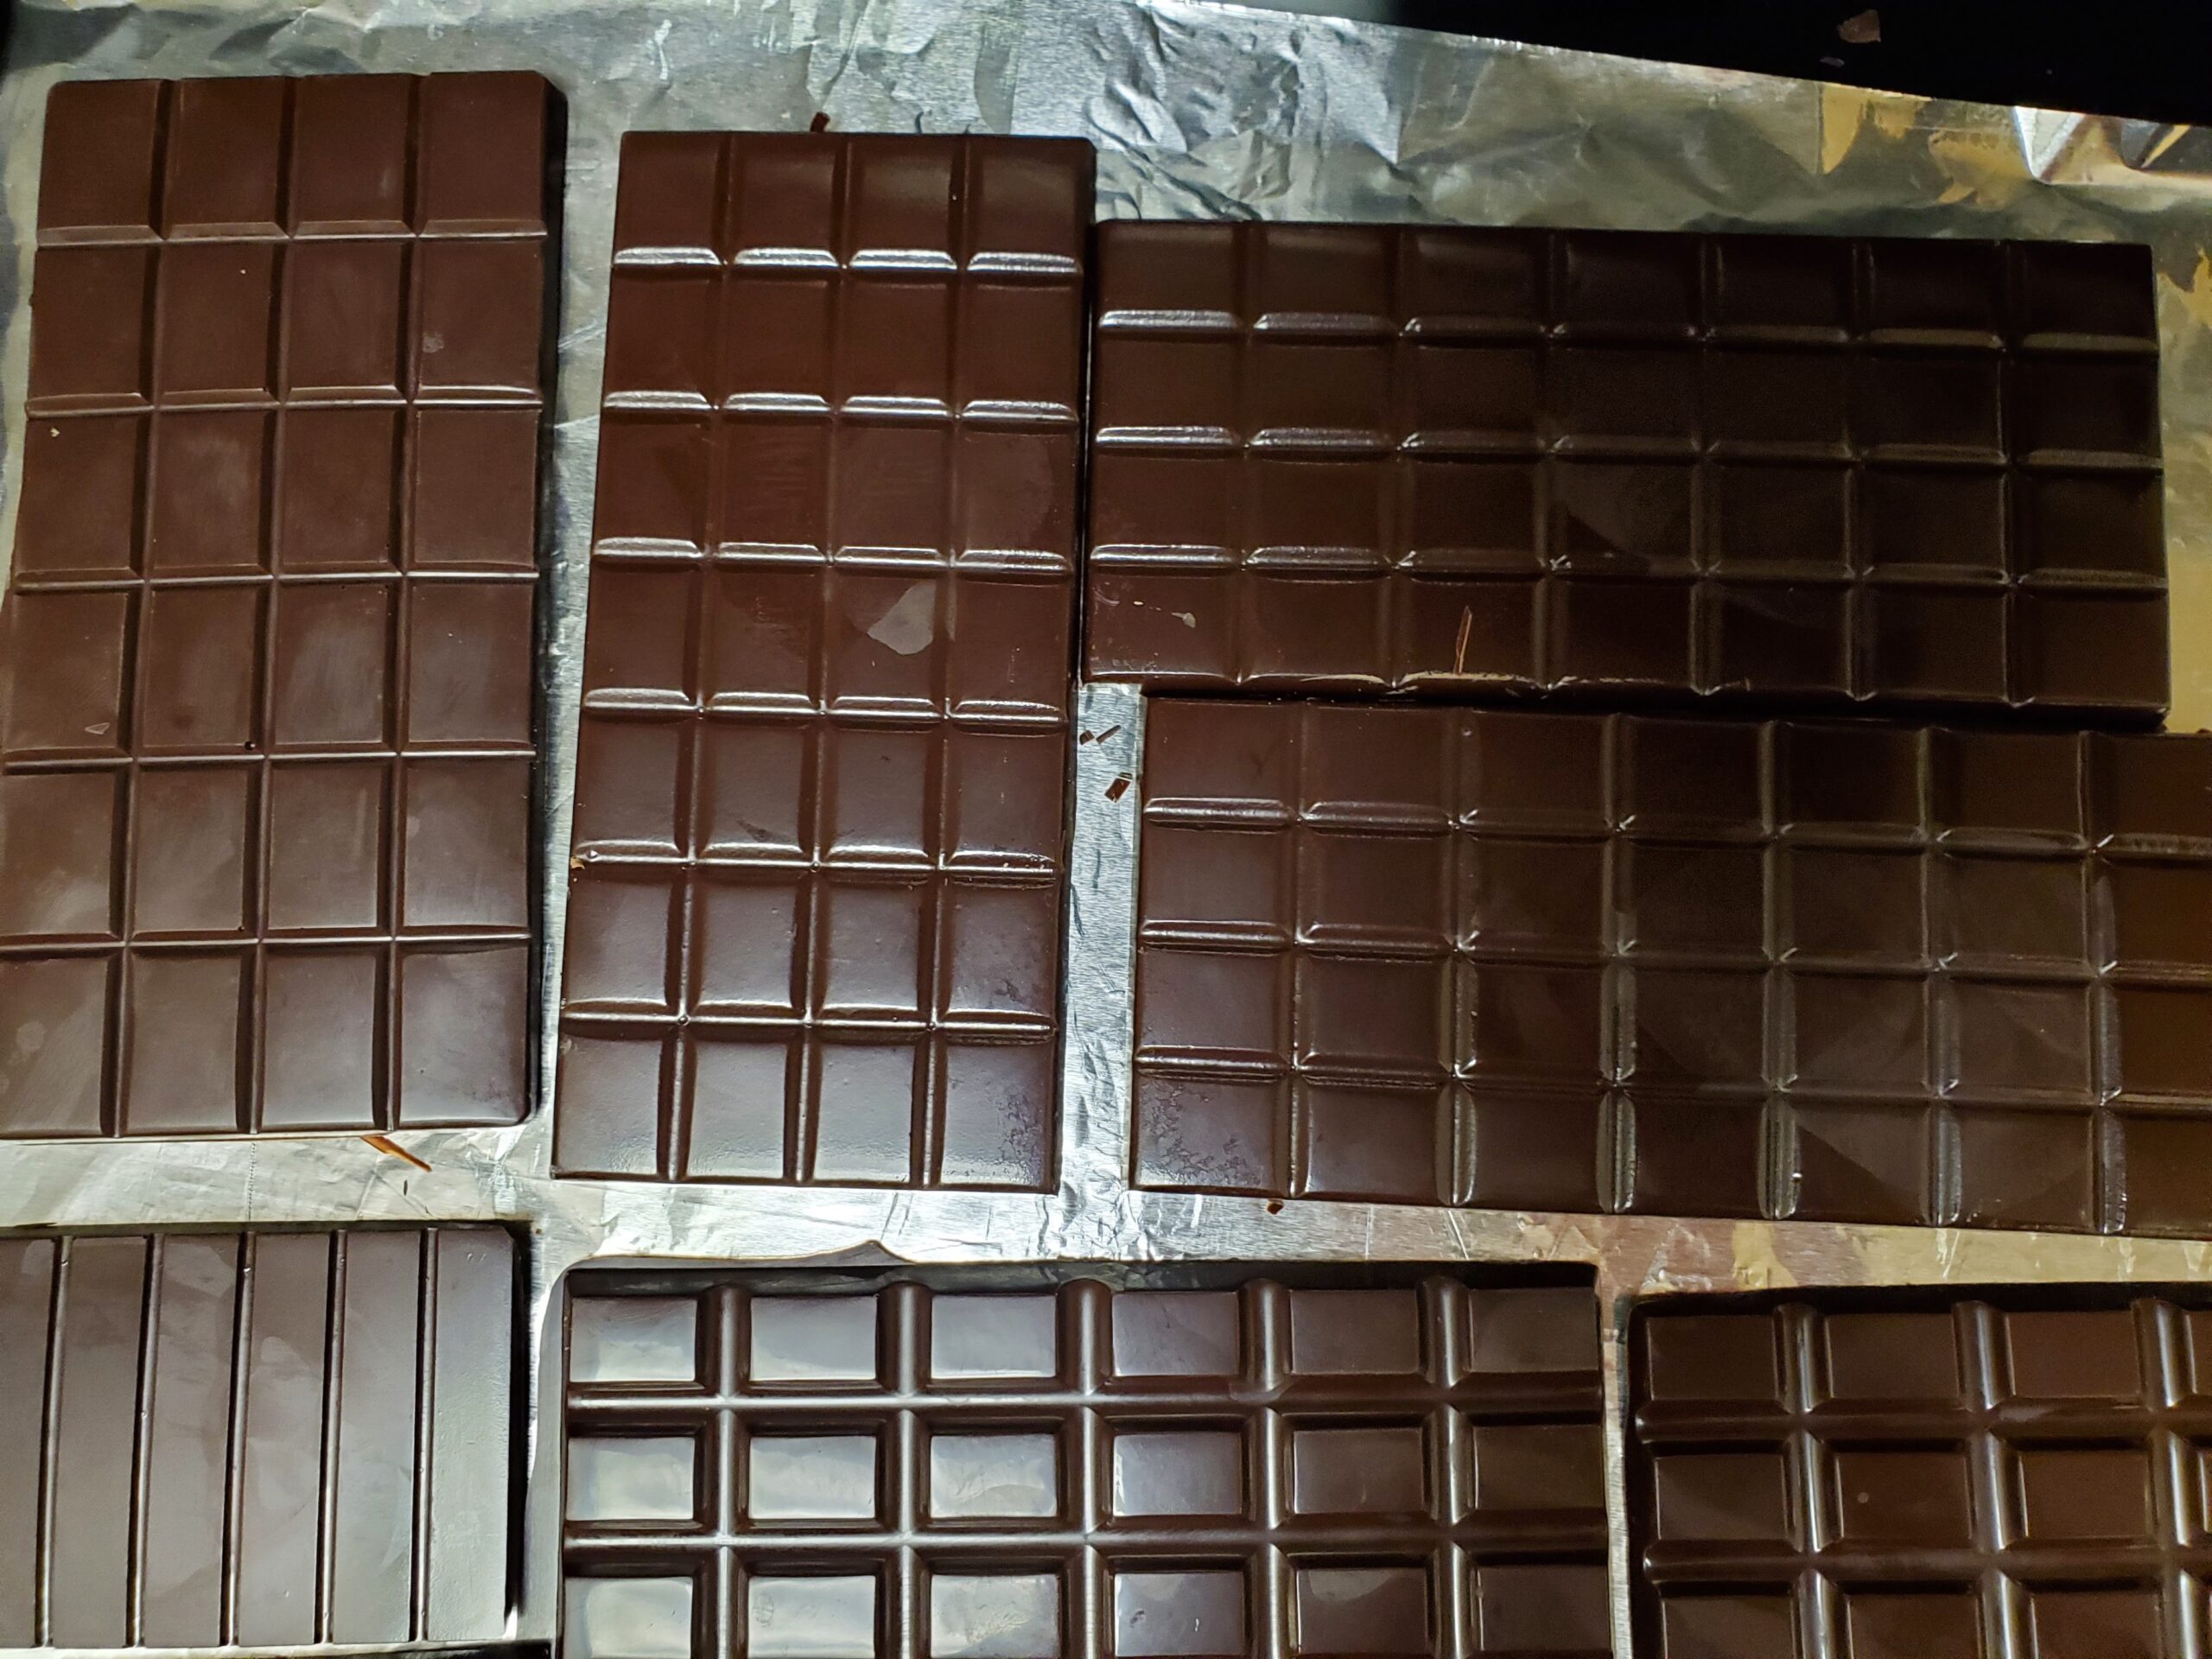
It’s chocolate the way it was meant to be — honest, elemental, and celebratory.
Whether poured into bark, shaped into bars, or folded into other Passover desserts, this becomes a building block you can trust.
How We Used It This Year
For this batch, the chocolate was poured into rustic bark and paired with toasted nuts — simple, abundant, and meant to be broken and shared.
The scraps (quality control 😉) were the first clue we’d gotten it right.
A Note for Anyone Feeling Intimidated
If you’re thinking, this sounds complicated — here’s the secret:
It’s not hard.
It’s just intentional.
Passover cooking often looks daunting from the outside, but once you start making your own building blocks, the process becomes grounding rather than overwhelming.
One step at a time.
One ingredient at a time.
Coming Up Next
This two-ingredient chocolate opens the door to:
- nut bark variations
- Passover-friendly flavor pairings
- desserts built on truly from-scratch foundations
More soon.
For now, I’ll be over here breaking chocolate into imperfect, beautiful pieces — and enjoying every snap.
— PurePassover